Does My Controller Have Stick Drift? Test It in 30 Seconds (PS5, Xbox, Switch)
Your character creeps forward when you let go of the stick. Your camera slowly pans on its own. Menus scroll without you touching anything. That is stick drift, and the first thing to do is not buy a new controller — it is to confirm the drift objectively, because the fix depends entirely on how bad it is and which console you own.
This guide does two things competitors usually split across separate pages. First, you will run a free controller stick drift test online in your browser and read an exact drift number. Then you will use a clear decision framework — DIY fix, free warranty repair, or upgrade — with the current PS5, Xbox, and Nintendo Switch programs spelled out. No download, no guesswork.
The fast answer: Open the online gamepad tester, press any button to wake the browser Gamepad API, then take your thumbs off both sticks. Each stick shows a live drift magnitude to three decimals. If a stick reads above 0.05 at rest — or the position dot crawls away from center on its own — you have drift. Below that and steady is normal sensor noise.
What Is Controller Stick Drift?
Stick drift is when your controller registers analog stick movement that you never made. The console behaves as if you are gently holding the stick in a direction — so the camera turns, the player walks, or a menu cursor slides — while your thumb is nowhere near it.
In plain terms: the stick is supposed to report “center” (a value of zero on both axes) when you let go. With drift, it reports a small non-zero value that the game treats as real input. A little of this is harmless because games ignore a tiny zone around center, called the dead zone. Drift becomes a problem the moment the false movement escapes that dead zone and starts steering the game. (How that ignored zone works, and how to size it for your own stick, gets its own walkthrough in our controller deadzone explainer.)
It is the same family of fault as a mouse that double-clicks on a single press (switch bounce) or a touchscreen that taps itself (ghost touch). All three are a worn or confused physical input sending signals it should not. If you have chased those before, the mindset here is identical — confirm it with a measurement, then decide.
The 30-Second Test: Confirm Drift Right Now in Your Browser
You do not need any software to prove drift. Modern browsers expose the Gamepad API, and the online gamepad tester reads your controller's raw axis values and turns them into a live, on-screen number. Here is the exact routine.
- Connect the controller by USB cable or Bluetooth. Wired is best for a clean reading because it removes any wireless jitter from the equation.
- Open the gamepad tester and press any button. The Gamepad API only starts reporting after one input, so a single button press “wakes” the page and your controller appears.
- Put the controller down and take both thumbs off the sticks. Each stick shows a position dot on a canvas with a dead-zone circle, plus a live drift magnitude printed to three decimals (for example,
0.000). - Watch for 10–15 seconds. The status next to each stick reads OK in green. If a stick's magnitude climbs past the 0.05 threshold, the label flips to DRIFT! in red. The dot will also visibly sit off-center or crawl.
- Nudge each stick to all four edges and release. A healthy stick snaps back to near-center every time. A drifting stick lands somewhere off-center or keeps reporting movement after you let go.
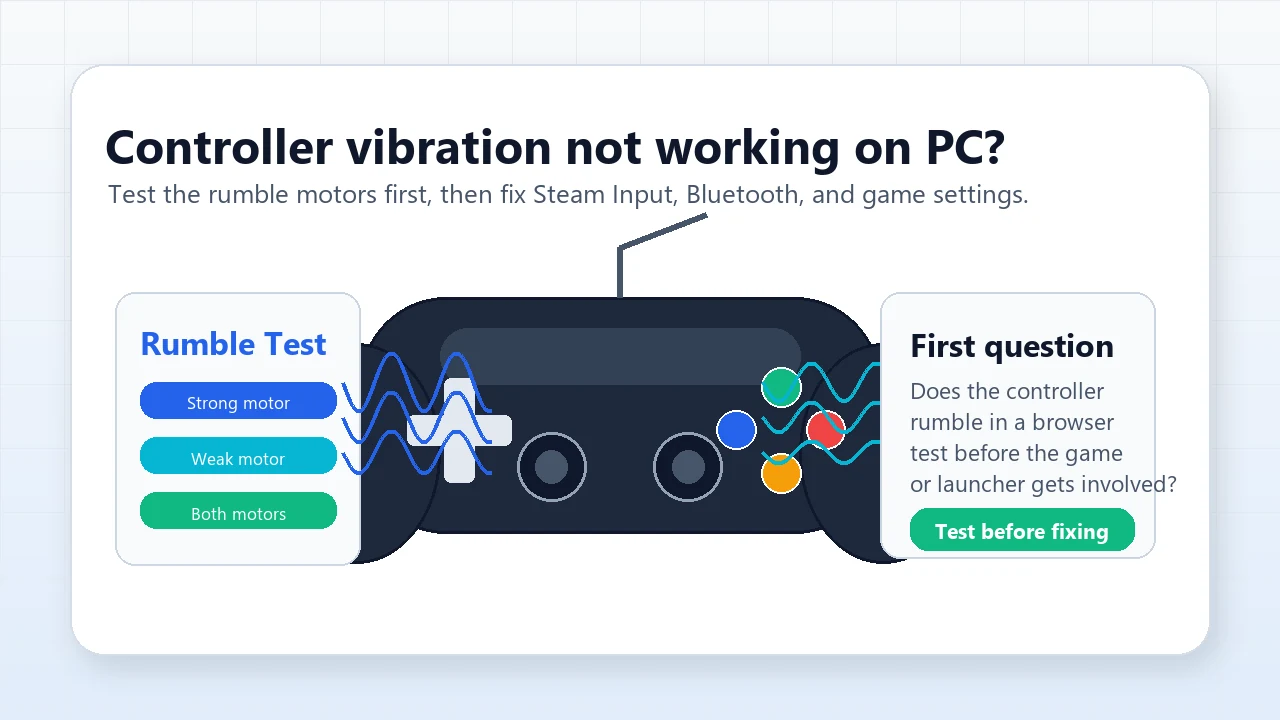
While you are there, the same page lights up every face button, bumper, and trigger, and can fire the vibration motors — so if drift is not your only complaint, you can confirm a dead button, a stuck trigger, or follow the dedicated controller vibration troubleshooting guide for Steam Input, Xbox, DualSense, and Bluetooth rumble problems. The approach mirrors how you would test mouse buttons and a scroll wheel one input at a time to isolate a fault.

Reading Your Result: Drift vs Dead-Zone Jitter vs a Dead Stick
The number alone is not the whole story. Three different conditions look similar at a glance, and telling them apart decides what you do next.
| What you see at rest | What it means | Verdict |
|---|---|---|
| Magnitude flickers around 0.00–0.03, no steady direction, dot stays inside the circle | Normal sensor noise inside the dead zone | Healthy. No action needed. |
| Magnitude holds above 0.05, or the dot crawls steadily one way | Stick drift — real input with no touch | Drift. Move to fixes and the decision framework. |
| Magnitude jumps erratically, spikes to high values, then drops | Debris or an intermittent contact | Try cleaning first — this one sometimes clears. |
| Stick moves but the dot barely responds, or one axis is stuck/flat | A failing or dead stick, not classic drift | Hardware fault. Repair or replace. |
The most useful tell is direction. Random flicker that averages to center is noise. A reading that consistently pulls the same way — say the dot always sits slightly down-left — is true drift, because the worn part of the stick mechanism biases it in one direction. (If your real complaint is sluggish or delayed aim rather than self-movement, that is a different problem — see the input latency guide instead, or the controller polling rate test guide if you want to compare USB vs Bluetooth Hz.)
Test on more than one game state too. A controller can read clean on a desk yet drift under the warmth and grip of an hour of play. If a friend complains of drift but your test reads OK, ask them to retest after a long session.
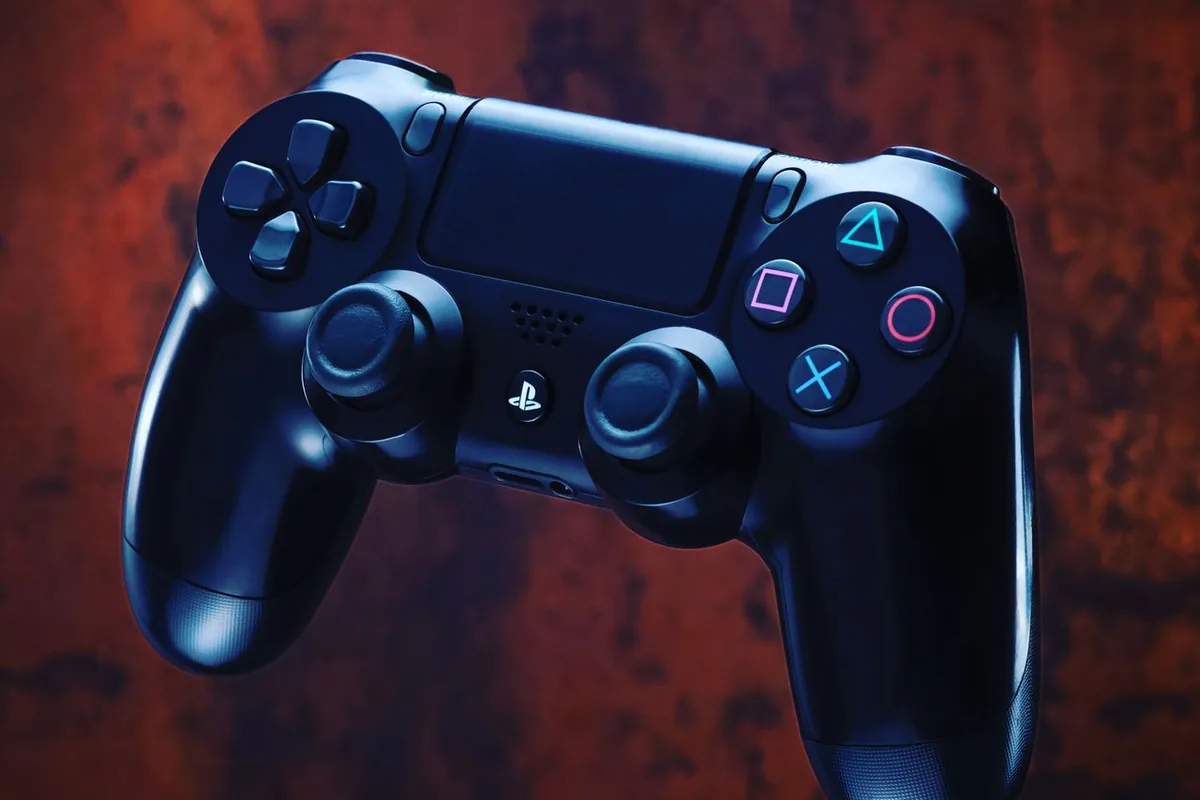
Test PS5 DualSense and DualShock for Drift
PlayStation controllers are some of the most drift-prone on the market, and both the PS5 DualSense and the PS4 DualShock use the same contact-based stick design that wears over time.

How to connect
- USB: plug the DualSense into your PC with a USB-C cable. This is the most reliable for testing.
- Bluetooth: hold the PS button + Create button until the light bar flashes, then pair it from your PC's Bluetooth settings.
What to look for
After you connect and press a button on the gamepad tester, the DualSense's two sticks map to the left and right canvases. DualSense drift very often shows up on the left stick first, because movement gets far more use than camera control in most games. A common real-world pattern is a steady down or down-right pull after a few hundred hours of play. If you only see drift inside a game but the browser reads clean, also check the in-game dead-zone setting — some PS5 titles let you raise it, which can hide early drift you would catch in a raw test.
Test Xbox (Series X|S / One) Controllers for Drift
Xbox Wireless Controllers connect cleanly to a PC, which makes them easy to test in the browser.
How to connect
- USB: connect with a USB-C cable (Series X|S) or micro-USB (older One pads).
- Bluetooth: hold the small pair button on top until the Xbox logo flashes, then pair from your PC. Note that the original launch Xbox One controllers lack Bluetooth and need a cable or the Xbox Wireless Adapter.
What to look for
Run the same rest test. Xbox sticks have a slightly larger factory dead zone than PlayStation, so very minor noise is often invisible. That means if the tester flags a magnitude above 0.05, it is usually a genuine problem rather than noise. The Xbox Elite Series 2 deserves special mention: its adjustable-tension sticks are excellent, but the model drew enough drift complaints that Microsoft extended its warranty — more on that in the warranty section.
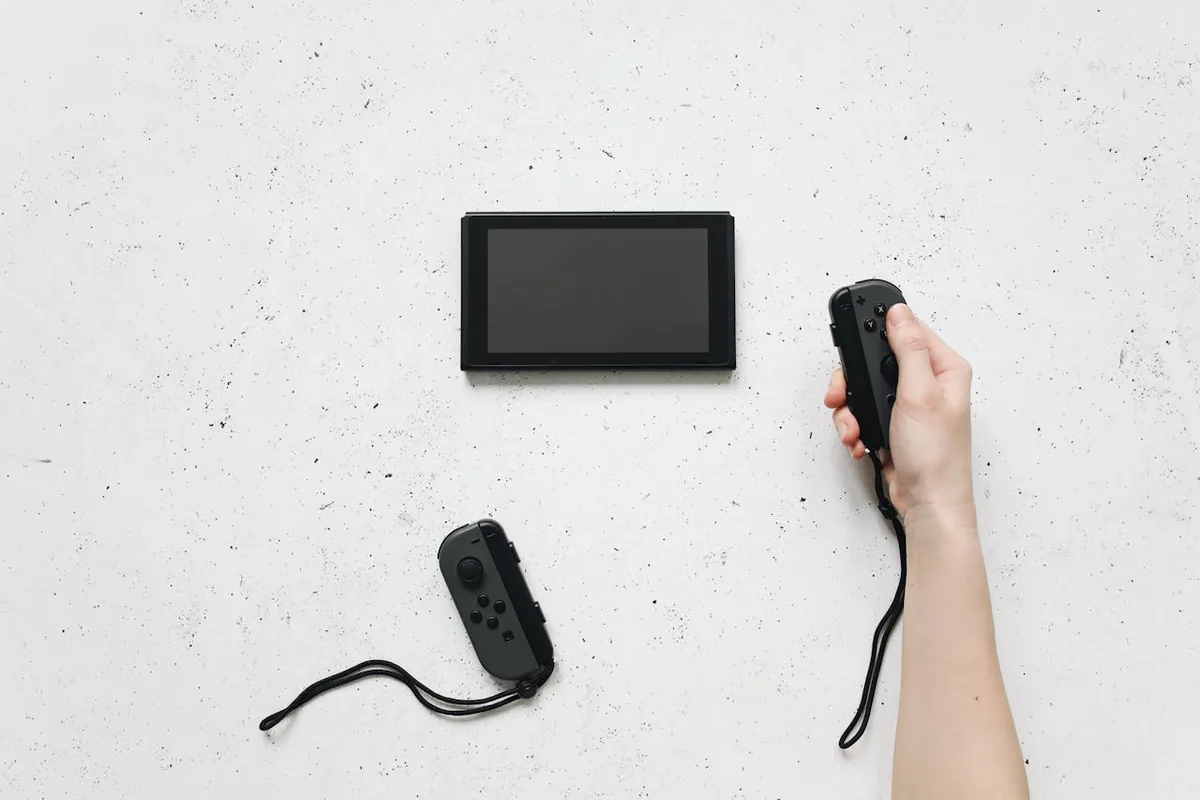
Test Nintendo Switch Joy-Con and Pro Controller for Drift
Joy-Con drift is so common it became a household phrase and the subject of class-action lawsuits. Testing a Joy-Con in a browser takes one extra step because of how it pairs.
How to connect
- Joy-Con (Bluetooth): hold the small round sync button on the rail between the SR and SL buttons until the lights run back and forth, then pair it from your PC's Bluetooth menu. Each Joy-Con pairs separately and reports its single stick.
- Switch Pro Controller: connect by USB-C cable for the cleanest reading, or pair over Bluetooth using the sync button on the top edge.
What to look for
Because a single Joy-Con has only one stick, watch the matching canvas on the tester and look for the classic Joy-Con pattern: a small but persistent pull, often diagonal, that gets worse the longer you play. Joy-Con sticks are physically tiny, so debris-related drift is common — which is good news, because the cleaning fixes below have a better-than-average chance of helping a Joy-Con compared with a worn-out potentiometer in a larger pad.
What Actually Causes Stick Drift
Understanding the cause tells you whether a fix is even possible. There are really three culprits.
1. Worn potentiometer wipers (the big one)
The vast majority of analog sticks use potentiometers — two of them, one per axis. Each has a tiny metal wiper that physically slides across a curved resistive track to report position. Every movement scrapes that track a little. After a few hundred hours, the wiper wears a flat or rough spot where it rests most often (near center), so the resistance reading at “center” is no longer truly zero. The controller reads phantom movement. This is mechanical wear, and it is permanent — cleaning cannot rebuild a worn track.
2. Dust and debris
Crumbs, skin oil, and pocket lint can work into the gap around the stick and lodge against the contacts. This causes drift too, but it is often intermittent — it comes and goes, or spikes erratically rather than holding a steady direction. This is the only common cause that a clean-up can genuinely fix.
3. Why Hall-effect and TMR sticks do not drift
Newer controllers replace the rubbing potentiometer with a contactless sensor. A Hall-effect stick reads the position of a small magnet using a magnetic sensor — nothing touches, so nothing wears. TMR (tunnel magnetoresistance) is the 2026 evolution of the same idea: the same no-contact magnetic principle but with a more precise, lower-power sensor. Remove the rubbing contact and you remove the number-one cause of drift. These sticks can still be damaged by a drop, but the slow wear that kills standard sticks simply does not happen.
Quick, Non-Invasive Fixes to Try First
If your test confirmed drift, try these in order before spending money. They are most likely to help debris-related drift; they will only briefly mask worn-contact drift.
- Recalibrate the stick. PS5: Settings → Accessories → Controllers has stick options; many PCs and the Steam client also offer a calibration routine. Recalibration re-teaches the controller where center is and can erase small drift instantly.
- Blow it out with compressed air. Move the stick to the side and give short bursts of canned air around the base to dislodge dust. Do not blow continuously or hold the can upside down.
- Clean the contacts. Lightly dampen a cotton swab with 70% or higher isopropyl alcohol, work it around the base of the stick while rotating the stick through its full range, then let it dry fully before powering on. This can clear debris sitting against the contacts.
- Update the firmware. Connect the controller to its console or official app and install any pending update. Firmware will not fix worn hardware, but it occasionally improves how the controller interprets the stick and rules out a software cause.
- Re-test. Run the drift test again. If the magnitude is back under 0.05 and steady, you bought yourself time. If it returns within days, the contacts are worn and you are in repair-or-replace territory.
Reality check: if cleaning fixes it and it stays fixed, you had debris — great. If cleaning fixes it and it comes back, you have wear, and no amount of air or alcohol will hold it. Stop re-cleaning and move to the decision below.
When It's Not Worth Fixing: Warranty, RMA, and Free-Repair Options by Brand
Before you solder anything or buy a replacement, check whether the manufacturer will handle it — the answer differs sharply by brand, and one of them repairs drift for free even out of warranty.
| Brand | In-warranty drift cover | Out-of-warranty option |
|---|---|---|
| Nintendo (Joy-Con) | Yes | Free repair in the UK, EU, and Switzerland regardless of warranty, per Nintendo's support program — the standout policy. Submit a repair request on Nintendo's support site. |
| Sony (DualSense / DualShock) | Yes — free repair or replacement within the 12-month limited warranty | Paid repair after warranty (a fee that can approach the price of a new controller). The DualSense Edge is the exception: its stick modules are user-swappable. |
| Microsoft (Xbox) | Yes — repair or replacement within the 1-year limited warranty | No free out-of-warranty drift program for standard pads. The Elite Series 2 received an extended warranty after drift complaints — check your purchase date against it. |
The decision framework
Run through this in order:
- In warranty? Start an RMA with the manufacturer. It is free and they replace or repair. Have your serial number and proof of purchase ready; expect roughly one to three weeks turnaround.
- A Joy-Con in the UK/EU/CH? Use Nintendo's free repair even if you are out of warranty.
- A DualSense Edge? Buy a replacement stick module (around $20 / £20 from PlayStation Direct) and swap it in seconds — no tools, no soldering.
- Out of warranty and comfortable with a soldering iron? A third-party potentiometer stick module is the cheapest path. Budget realistically for the part plus your time, and accept that the replacement is the same contact technology, so it will eventually wear too.
- Out of warranty, not a DIY person, and tired of the cycle? Put the repair money toward a Hall-effect or TMR controller instead — see below.
Should You Upgrade to a Hall-Effect or TMR Controller?
If you have replaced sticks before, or you just never want to do this again, a contactless-stick controller is the permanent answer. These are real products on sale in 2026, not vaporware.
| Controller | Stick tech | Notes |
|---|---|---|
| 8BitDo Ultimate series | Hall effect | Popular value pick with a charging dock and a software app for stick tuning. Strong PC and Switch support. |
| GameSir G7 SE | Hall effect | Among the most affordable full controllers with Hall sticks; wired, officially licensed for Xbox and PC. |
| GameSir G7 Pro | TMR | Uses the newer TMR sticks and works with Xbox and PC — a 2026 option if you want the latest sensor. |
| GuliKit KingKong / KK3 Max | Hall effect | An early Hall-effect pioneer; broad device support, often used with adapters for PlayStation and Xbox. |
Hall effect vs TMR: both are contactless and both eliminate wear-based drift. TMR is the newer technology and is generally reported to feel a touch more precise and centered, with lower power draw, but a good Hall-effect controller already solves the drift problem you came here for. For most people, either is a permanent fix; pick on price, platform support, and feel.
One caveat worth knowing: on PlayStation and Xbox consoles, official-license rules mean many third-party Hall/TMR controllers are wired or need an adapter. On PC and Switch you have far more wireless freedom. Match the controller to where you actually play.
Your stick-drift decision checklist:
- Confirm drift objectively in the browser tester — magnitude above 0.05 at rest, or a dot that crawls one way.
- Rule out debris with recalibration, compressed air, and an alcohol-swab clean, then re-test.
- If it returns, check warranty first — in-warranty means a free RMA; a Joy-Con in the UK/EU/CH means free repair regardless.
- DualSense Edge owners: swap the stick module yourself in seconds.
- Out of warranty and done with the cycle: buy a Hall-effect or TMR controller for a permanent fix.
FAQ: Controller Stick Drift
Does controller stick drift go away on its own?
Rarely, and not for long. If a little debris is wedged near the stick, recalibrating or blowing it out can clear it temporarily. But drift from worn potentiometer contacts is a physical, progressive failure — the wiper has scraped a flat spot into the track — and that does not heal. Treat any clean-up that helps as a reprieve, not a cure.
Is a 0.02 drift magnitude normal, or is my controller already failing?
A small non-zero reading at rest is usually normal. Sticks are not perfectly silent, so values hovering around 0.01–0.03 that do not pull one steady direction are typically just sensor noise inside the dead zone. The tester flags drift above 0.05 because that is where movement reliably escapes the dead zone and affects games. A steady 0.02 is fine; watch for it climbing or pulling consistently one way.
Can a software update or recalibration permanently fix stick drift?
Software can mask drift but not repair the hardware. Recalibration re-centers the stick and a wider dead zone hides small movement, buying you weeks of play. Firmware sometimes improves stick interpretation. None of it restores a worn track, so the drift returns. A genuine cure means a new stick module or a controller with contactless Hall-effect or TMR sticks.
Does increasing the dead zone hide stick drift?
Yes, and it is a reasonable stopgap. A dead zone is the area around center the game ignores, so widening it swallows minor drift and stops self-movement. The trade-off is responsiveness: you must push the stick further before input registers, which dulls fine aim. Use it to keep playing while you arrange a repair, not forever — drift eventually outgrows the dead zone. Our controller deadzone guide covers choosing the exact value and where to set it per game.
Is it worth fixing stick drift or should I just buy a new controller?
Check warranty first. Nintendo repairs Joy-Con drift free in the UK, EU, and Switzerland regardless of warranty; Sony and Microsoft cover it free within their one-year warranty. Out of warranty, weigh repair cost against replacement: a third-party module plus your own labor is cheapest if you can solder, while a paid manufacturer repair often nears the price of a new pad. If drift keeps returning, a Hall-effect or TMR controller ends the cycle.
Why do Hall-effect and TMR controllers not get stick drift?
They have no physical contact in the sensor. A standard stick uses a potentiometer whose metal wiper rubs a resistive track, and that rubbing wears a groove that causes drift. Hall-effect sticks read a magnet's position magnetically, and TMR sticks do the same with a newer, more precise sensor. With nothing touching to wear out, the most common cause of drift is removed.
Sources and Further Reading
- Nintendo — Switch repair and Joy-Con repair program (UK)
- PlayStation — PS5 hardware limited warranty (US)
- PlayStation Direct — DualSense Edge replacement stick module
- Xbox Support — request a controller replacement (warranty)
- Windows Central — What are TMR sticks, and are they better than Hall-effect?
Ready to settle it? Open the free gamepad tester, press a button, drop your thumbs, and read the exact drift number for each stick — then come back to the decision framework above.