












Fast answer
Marks that repeat at an even interval usually point to a rotating part, but distance alone does not identify the part. Print the repeating-defect ruler at Actual size / 100%, measure matching points center-to-center, note whether one color or every color is affected, and compare the result with the image-quality table for your exact printer model. That sequence is much safer than buying a drum or fuser from a generic millimeter chart.
A dot, smear, shadow, or pale patch that returns at the same place down every sheet is one of the more useful laser-printer clues. The paper moves forward while drums and rollers turn, so damage or contamination on a rotating surface can touch the page once per revolution. The repeat interval is therefore evidence—but only when you combine it with the color of the mark, whether toner rubs off, and whether the printer can reproduce it on its own internal page.
This guide gives you a model-safe workflow for A4 and US Letter paper, in millimetres and inches. It does not pretend that one distance means the same component in every printer. You will produce a clean diagnostic sheet, measure it consistently, rule out the document and scanner path, and decide whether the next sensible move is cleaning, a user-replaceable part, warranty service, or a replacement printer.
First confirm that the defect really repeats
Use at least three copies of the same mark before calling it periodic. A single spot can come from loose toner or paper debris; a continuous vertical line is more likely a scratch or contamination that stays in contact with the sheet. A true repetitive defect has a recognisable shape that returns at nearly the same interval down the direction of paper travel.
Then separate the printer engine from the file and scanner. Print a configuration, supplies-status, or built-in quality page from the printer control panel. If that internal page is clean but one document is dirty, inspect the source file, app, and driver. If direct prints are clean but photocopies carry the mark, clean the scanner glass and narrow ADF glass strip before opening the print engine.
- Same mark on an internal page: the fault is in the printer, cartridge, or paper path—not the original document.
- Only one file or app: export a fresh PDF or try another driver before buying hardware.
- Only copies: inspect the flatbed and narrow ADF glass strip for dust, correction fluid, or a scratch.
- One uninterrupted line: diagnose a line or streak first; the interval method is designed for discrete repeating marks.
Print a defect ruler and measure center-to-center
Open the printer diagnostic page, select A4 or Letter to match the paper in the tray, and print two sheets: Full diagnostic first, then Repeating-defect ruler. In the system print dialog choose Actual size or 100%. Turn off Fit, Shrink, Scale to page, and borderless enlargement. After printing, check the page’s 100 mm reference; if it is not 100 mm on a physical metric ruler, correct the print scale and start again.
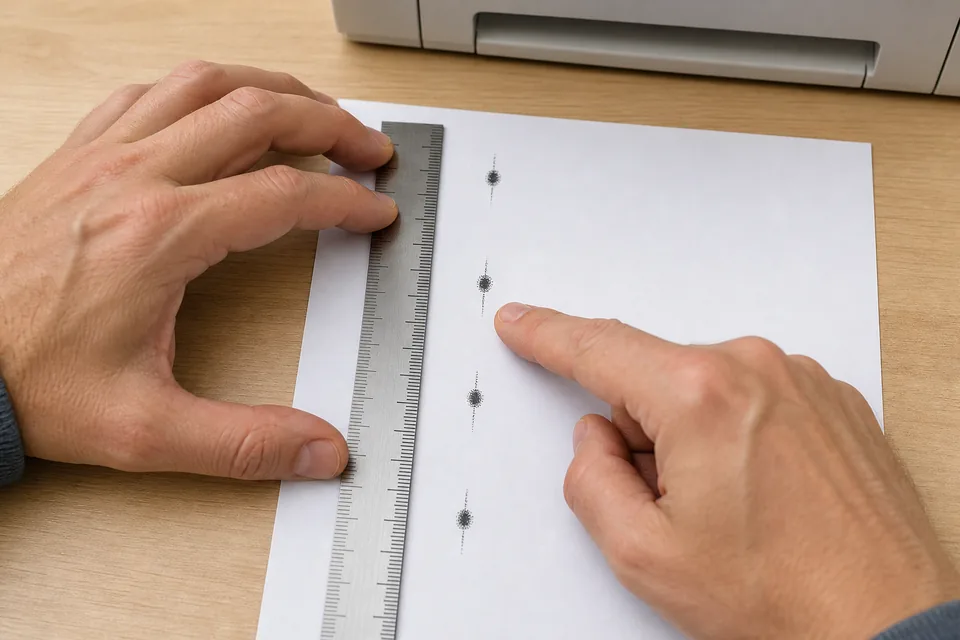
Choose a distinctive point on the first mark—usually its centre, sharp top edge, or darkest speck—and measure to the identical point on the next occurrence. Repeat across the next pair. Close results tell you the interval is real; a large difference means you may have grouped unrelated marks. Record both millimetres and inches (25.4 mm = 1 inch) so either style of manufacturer document is easy to use.
- Print both useful sheets. Full diagnostic confirms how color, gray, registration, fine lines, and bands behave; Repeating-defect ruler supplies the measured interval.
- Use plain paper first. Glossy, thick, damp, or unsupported media can create its own fusing and feeding symptoms.
- Measure in the feed direction. Repeats normally run from the top of the page toward the bottom, not across its width.
- Use matching points. Edge-to-edge on one pair and centre-to-centre on another creates false differences.
- Measure two intervals. Three appearances provide a useful consistency check.
- Keep the sheet. A labelled sample is better evidence for support or a repair shop than a verbal description.
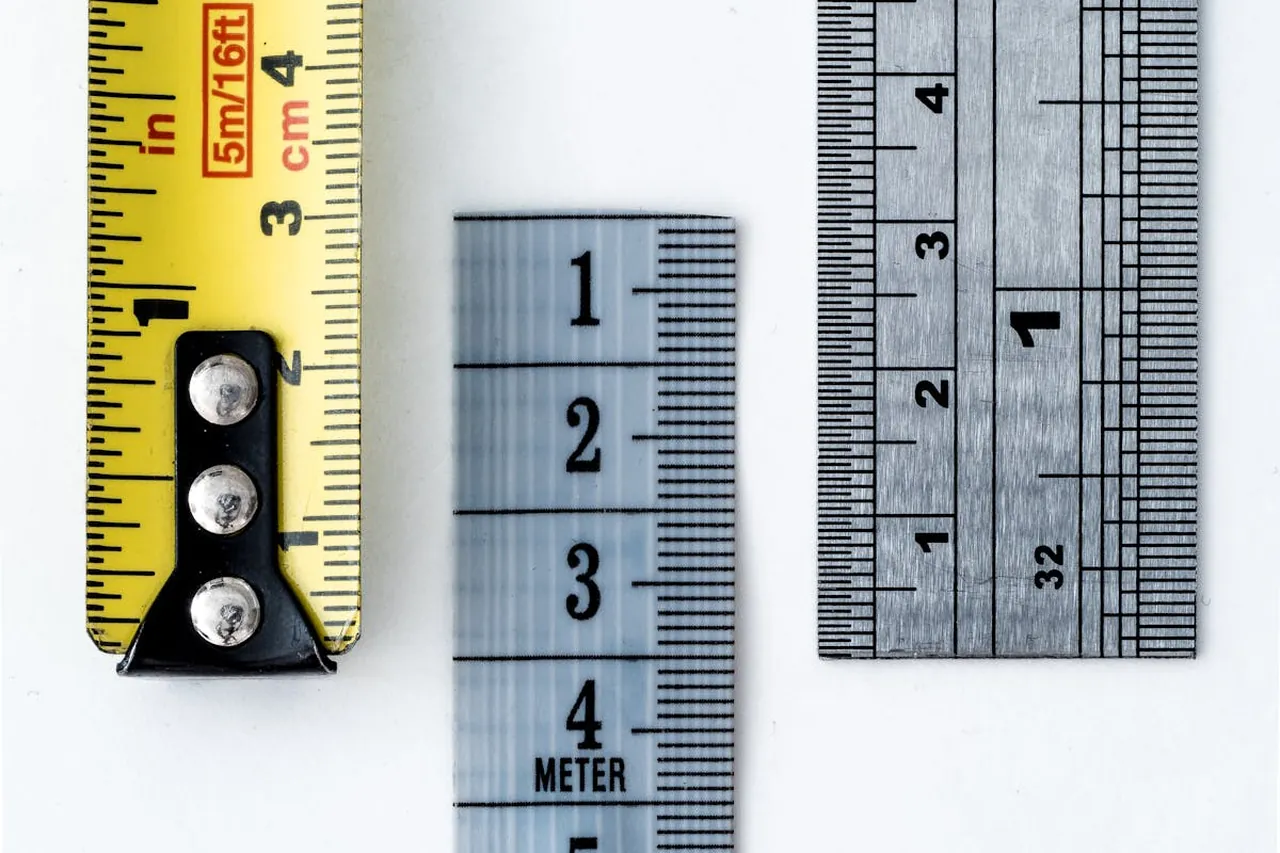
No physical ruler nearby? A calibrated online ruler can help with a quick screen reference, and the guide to measuring without a ruler explains calibration. For a printed defect sheet, however, a real metric ruler remains the more reliable choice.
Drum, cartridge, transfer, or fuser: read the clues together
The interval narrows the rotating circumference; the appearance tells you which system is more plausible. Treat the table below as a triage guide, not a part verdict. Cartridge designs vary, some drums are built into toner cartridges, and shared color-printer components can place defects in more than one color.
Symptom clues and the safest next check
Use the page appearance to decide what to inspect in the exact model documentation.
| What you observe | More plausible area | Why it matters | Safe next check |
|---|---|---|---|
| One color repeats | That color’s cartridge, drum, or developer | A color-specific imaging path is involved before colors combine. | Swap or inspect only if the manual permits; print the model’s color quality pages. |
| All colors repeat at the same interval | Shared fuser or transfer path | A shared component acts on the combined image. | Check the exact model’s all-color spacing entry and service status. |
| Toner rubs off after the page cools | Fusing or media setting | The toner may not have bonded to the paper. | Verify supported paper and paper type; run the documented cleaning step. |
| A faint earlier image returns | Ghosting: drum charge, toner, environment, or fuser | Repeated images have several causes; Brother lists media, environment, drum, toner, and fuser checks. | Try plain paper, correct media settings, built-in cleaning, then the model guide. |
| Only copies show the mark | Scanner or ADF glass | The print engine can reproduce contamination from the scanned original. | Clean the flatbed and narrow ADF glass strip using the manual. |
| Internal page is clean | File, application, or driver | The printer can make a clean page without that data path. | Print another file, export PDF, and test the manufacturer driver. |
Why 94 mm can mean drum or fuser: the HP M880 example
HP’s defect-spacing page for the Color LaserJet Enterprise flow MFP M880 lists 94 mm (3.70 in) for two different areas: the fuser pressure roller and the photosensitive drum. HP distinguishes them with color scope: a 94 mm defect in every color points toward the fuser, while the same interval in only one or two colors points toward the corresponding drum.
That is exactly why a universal “94 mm = drum” chart is unsafe. Even within one model, two components can share an interval. Across brands and models, roller diameters, cartridge architecture, paper paths, and user-replaceable parts all change.
Write down the full model number from the front, rear label, or settings page. Search the manufacturer’s support site for that exact model plus “repeating defects,” “defect spacing,” “image quality,” or “print quality test pages.” Match your measured interval and symptom to that table, then check whether the named part is intended for user replacement. If the manual routes the fuser or transfer unit to service, stop there.
Safe checks before you touch a drum or fuser
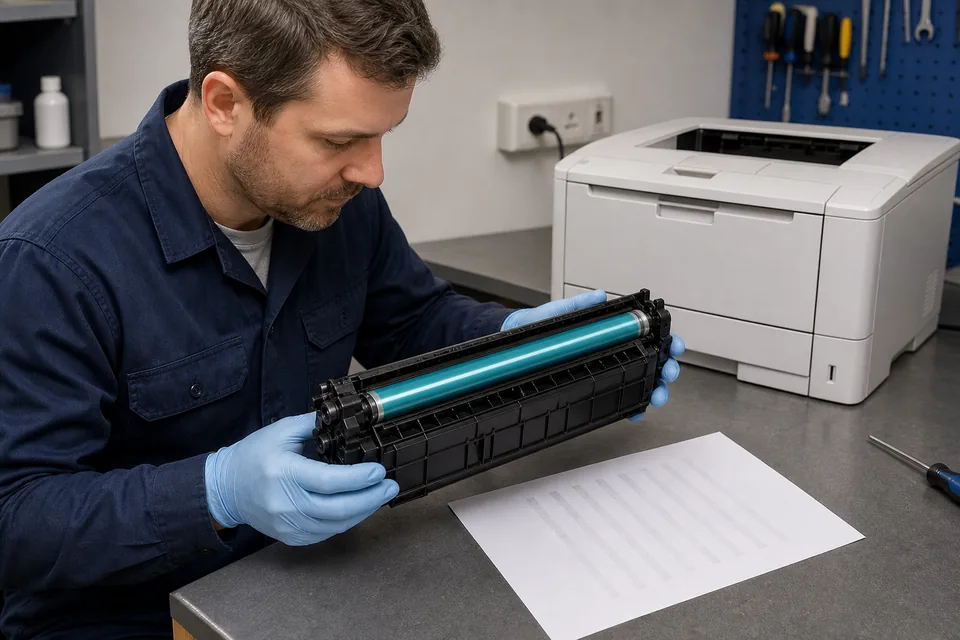
Start with the printer’s own cleaning cycle, correct media setting, and a fresh sheet from a dry ream. Only open a cover after following the exact model manual. Laser printers contain hot surfaces, high voltage, light-sensitive drums, and toner that should not be dispersed into the air.
- Power down as the manual directs and let the fuser cool before reaching near the paper exit or rear door.
- Do not touch the shiny drum surface. Skin oil, scratches, and prolonged bright light can create new defects.
- Do not disassemble or shake open a toner cartridge. Follow the manufacturer’s handling and recycling instructions.
- Avoid aerosol cleaners, solvents, and compressed-air clouds. Use only the method and lint-free material specified for the model.
- Check the paper-type setting. Toner that rubs away can result from media that needs a different fuser temperature or is not supported.
- Stop at service-only parts. A fuser or transfer assembly may be user-replaceable in one model and technician-only in another.
Repair, claim warranty, or replace the printer?
Do not compare a generic part price with a new printer. Compare the exact compatible part, any required technician labor, the printer’s remaining warranty, page count, supplies you already own, and the cost of downtime. The right decision changes with the model and the business using it.
| Situation | Best next move | Reason |
|---|---|---|
| Printer is under warranty or service contract | Save the marked sheet and contact support before opening assemblies. | Unapproved work can complicate coverage; the interval and color notes speed triage. |
| Manual names a user-replaceable cartridge or drum and the symptom matches | Price the exact genuine or supported part and check its return policy. | A model-matched, user-serviceable part is the lowest-risk hardware repair. |
| Manual names a technician-only fuser or transfer unit | Request a written repair quote. | Labor, calibration, and other worn parts can change the real cost. |
| Several costly systems are worn, parts are scarce, or downtime is critical | Compare the full repair quote with a suitable replacement printer. | A cheap headline part price can hide labor, supplies, and repeated downtime. |
| Evidence is mixed or the interval is inconsistent | Do not order a part yet; repeat the test or get a diagnosis. | One more controlled print costs less than the wrong drum or fuser. |

Use the two tools that actually help this diagnosis
A mechanical print defect does not need a pile of unrelated browser tools. These two support the measurement workflow.
Generate A4, Letter, or Legal diagnostic sheets and a repeating-defect ruler with a 100 mm scale check.
Online rulerCalibrate an on-screen ruler for a quick reference when no physical ruler is available.
Related guide
Video: see why rotating parts create equal intervals
This short viandant5 demonstration shows the core laser-printer method: identify a mark that repeats at an equal interval, measure the distance, and compare it with the rotating components for that printer. Use it to understand the method, then use your model’s own table for the part decision.

A concise demonstration of measuring repetitive defects on a laser-printer sheet and relating the interval to rotating printer components.
Sources and research notes
Manufacturer documentation is the authority for model-specific spacing and safety. These sources were checked in July 2026; the KBT workflow deliberately avoids a universal cross-brand spacing chart.
- HP: M880 defect spacing
HP’s model-specific table lists 94 mm for both the pressure roller/fuser and photosensitive drum, using all colors versus one or two colors to separate them.
- Brother: Ghosting or repeated images
Brother’s troubleshooting sequence covers environment, media type, drum cleaning, toner, fuser contamination, test printing, and service escalation.
- Xerox C240/C2432/C300 User Guide
The current user guide defines repeating defects as equal-distance marks, tells users to measure the first and second occurrence, and routes some fuser/transfer work to service.
- viandant5: Repetitive defects on a printed sheet
The embedded video visually demonstrates the equal-interval measurement method for laser printers.
Frequently asked questions
- Why does my laser printer leave the same mark on every page?
An evenly repeated mark often comes from a rotating surface that has contamination, wear, or damage at one point. Each revolution transfers the defect again. The cartridge drum, developer, transfer system, and fuser all contain rotating parts, so use the interval together with color, rub-off, and an internal test page.
- Do repeating marks always mean the drum is bad?
No. A toner cartridge, drum, developer roller, transfer roller or belt, and fuser can all create periodic defects. Media and environment can also contribute to ghosting. The exact printer model’s defect-spacing table is the deciding reference, not a generic chart.
- How do I measure repeating printer marks correctly?
Print at Actual size or 100%, verify the 100 mm reference, then measure from the same feature on one mark to the same feature on the next—usually centre-to-centre. Measure a second interval to confirm it is consistent and record both mm and inches.
- What does a 94 mm repeating printer defect mean?
It depends on the model. On HP’s M880 table, 94 mm can mean the pressure roller/fuser when all colors are affected or a photosensitive drum when only one or two colors are affected. Do not apply that M880 example to another printer.
- Is printer ghosting the same as a physical dot or smear?
Not exactly. Ghosting is a faint repeat of earlier text or imagery, while a damaged surface may create a dot, patch, or line segment. Both can repeat, and their causes overlap, so the same measurement and exact-model lookup remain useful.
- Is it safe to clean a printer drum or fuser myself?
Only if the manufacturer’s instructions for your exact model say so. Do not touch a photosensitive drum, open a toner cartridge, spray aerosol cleaner, or reach near a hot fuser. Run built-in cleaning first and use only documented materials and access points.
- Can the KeyboardTester.click page identify the failed printer part automatically?
No. It generates diagnostic patterns and a scale-checked repeating-defect ruler; it cannot read the printer, inspect toner, or know the component diameters for every model. Its job is to give you a reliable measurement and symptom record for the manufacturer table or technician.
Print the laser-printer diagnostic and repeating-defect ruler at 100%, label the interval and color clues on the page, then check the exact model documentation before you spend money on a drum, cartridge, fuser, or replacement printer.



Reader discussion
Comments
Share what worked, what did not, or what you would test next. Every comment is reviewed before it appears.
Loading approved comments…
Leave a comment
No account or sign-in is required. Links and HTML are not accepted.